

Crystal Bracelet Combinations: Which Stones Work Together (and Which Clash)
A practical, honest framework for combining crystal bracelets — what genuinely pairs well, what actively works against itself, and how to build your own combination with real intention.
Once someone owns more than one or two crystal bracelets, the same question comes up almost immediately: can these be worn together, or does mixing stones somehow cancel each other out? The honest answer is more nuanced than most "crystal pairing charts" floating around online suggest. Some crystal bracelet combinations genuinely reinforce each other in ways that make practical sense once you understand each stone's actual traditional meaning. Others don't so much "clash" in any mystical sense as simply work against each other logically, or create a genuinely awkward mixed message. And a few real, physical concerns — hardness mismatches, cleaning conflicts — matter more than any energetic theory ever could. This guide covers all three, honestly and in real depth.
Much of what's written online about crystal combinations treats it as a fixed set of memorized rules — "never wear X with Y" — without explaining the actual reasoning behind any specific recommendation. That approach doesn't hold up well once you start asking why a particular pairing is supposedly off-limits, and it also doesn't help you evaluate a combination that isn't already on someone else's list. This guide takes a different approach: explaining the actual logic behind good and questionable pairings, so you can apply that reasoning to any combination you're considering, not just the specific examples covered here.
The Quick Answer
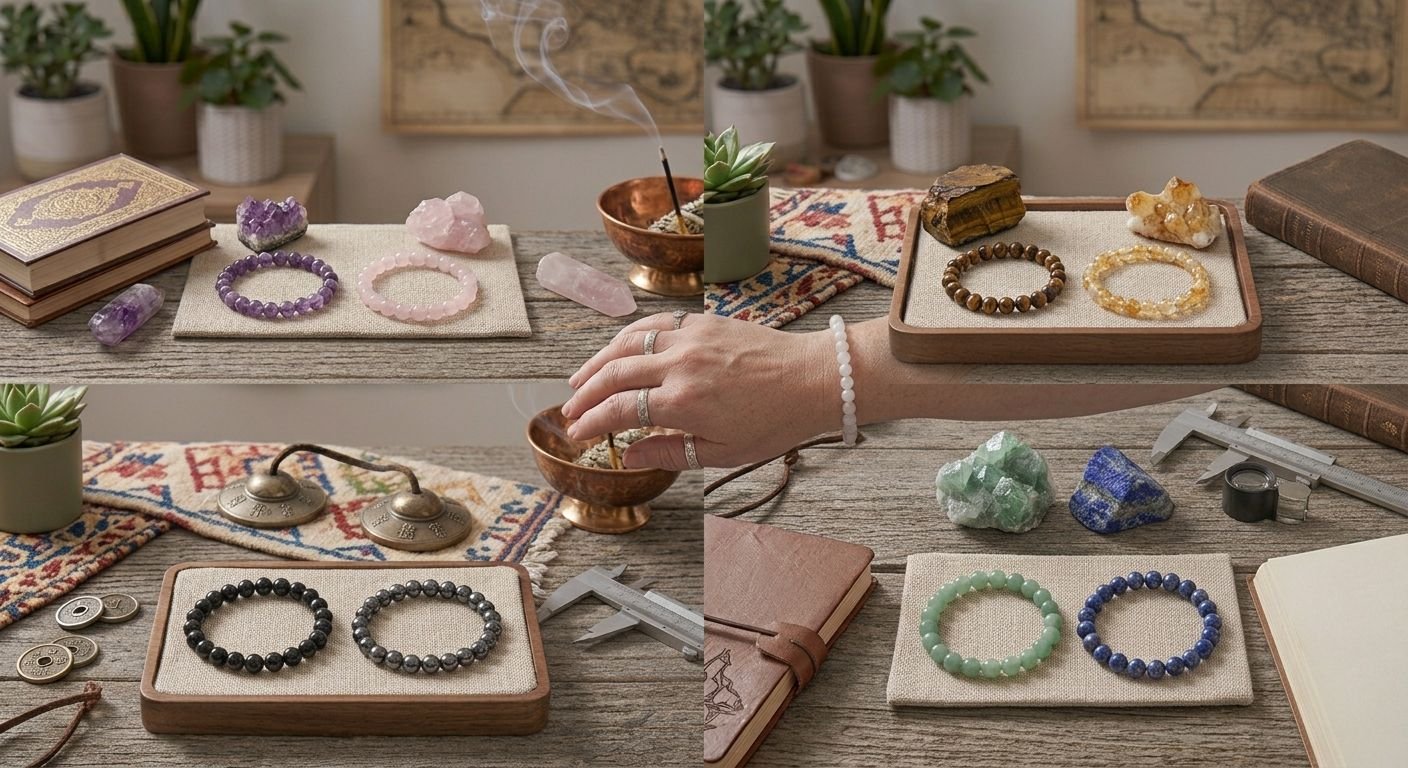
Most crystal bracelet combinations are perfectly fine to wear together, and the idea that stones can "clash" in some harmful, dangerous sense is generally overstated. The more useful question isn't "will these hurt me" but "do these actually make sense together" — pairing two stones with genuinely complementary traditional meanings (grounding plus protection, love plus communication) tends to feel more coherent than pairing two stones with directly contradictory meanings (a stone for release and letting go alongside a stone specifically for holding onto and manifesting something). Beyond meaning, the two practical factors actually worth managing are physical: matching hardness levels within a single strung piece, and being aware that combining too many stones at once can dilute your ability to engage with any one of them meaningfully.
The rest of this guide walks through specific combinations that work, specific ones worth approaching with more thought, and a genuinely practical framework for building your own — so skip ahead to whichever section actually answers the question you came here with.
How to Actually Think About Combinations
Before getting into specific pairings, it's worth establishing a genuinely useful framework rather than treating crystal combinations as a fixed set of rules to memorize. Most of what determines whether a combination "works" comes down to three questions.
Why "Clashing" Is the Wrong Word for Most of This
It's worth addressing this framing directly before going further, since "clash" implies something closer to active harm or conflict, and that's rarely what's actually going on when a combination doesn't work well. In the vast majority of cases, what people describe as crystals "clashing" is really one of two things: a genuinely mixed traditional message, where two stones point toward contradictory goals, or simply an unfocused combination that's hard to engage with meaningfully because it's trying to do too many unrelated things at once. Neither of these is dangerous in any sense — they're closer to a scheduling conflict than a collision, and understanding that distinction changes how seriously to take any specific "never combine these" rule you might come across elsewhere.
Do the Traditional Meanings Point in a Similar Direction?
Two stones associated with calm and grounding reinforce each other in an obvious, coherent way. Two stones associated with completely opposite intentions — one for release, one for holding on; one for outward confidence, one for inward retreat — create a genuinely mixed message, not because of any mystical clash, but simply because you're wearing two different, competing instructions at once.
Are You Combining for Breadth or for Focus?
Some combinations are deliberately broad — a chakra bracelet, for instance, intentionally spans seven different traditional meanings at once, and that breadth is the whole point. Other combinations work best when they stay narrow and reinforcing, layering two or three stones that all point toward the same specific goal rather than scattering across many different intentions. Knowing which one you're actually going for changes which combinations make sense.
Does the Physical Piece Actually Hold Up?
This is the most concrete, least debatable factor, and it's covered in real detail further down: stones with very different hardness levels strung on the same piece wear unevenly over time, and stones with different porosity or chemical sensitivity can complicate cleaning if they're combined carelessly. This is where "clash" stops being a matter of opinion and becomes a genuine, physical consideration.
Crystal Bracelet Combinations That Work Well
Here are specific pairings that genuinely make sense, with the reasoning behind each one rather than just a list to memorize.
Clear Quartz + Almost Anything
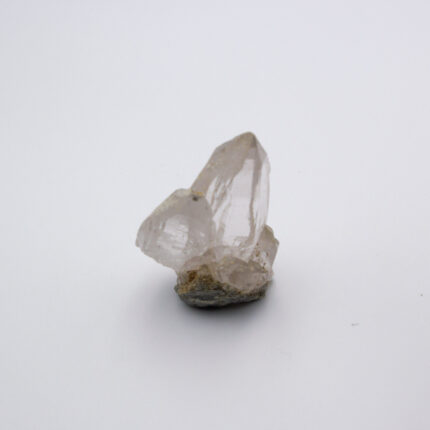
Clear quartz's traditional reputation as an "amplifier," with no fixed direction of its own, makes it one of the few stones that genuinely pairs well with almost anything else. Rather than adding a competing intention, it's generally understood as intensifying whatever the other stone in the combination is already associated with — paired with rose quartz, it's said to amplify love and emotional healing; paired with citrine, it's said to amplify confidence and abundance. This is part of why clear quartz shows up so frequently as a "connector" stone in multi-stone bracelets and combinations generally.
This amplifying role is worth understanding a bit more precisely, since it explains why clear quartz is such a uniquely flexible combination partner compared to almost any other stone. Most crystals carry a fairly specific traditional direction — confidence, calm, protection, communication — which makes combining two specific-direction stones a genuine exercise in checking whether those directions align. Clear quartz sidesteps this entirely by not adding a new direction of its own, which is precisely why it can be added to nearly any combination without needing to check for compatibility the way you would with two more specifically-directed stones.
Black Tourmaline + Smoky Quartz: The Grounding Pair

Both stones are independently among the most consistently cited grounding influences in the crystal world, but they approach grounding slightly differently — tourmaline through comprehensive, absolute shielding, smoky quartz through gentler, calmer steadiness. Combined, they're generally described as covering both the more active, protective side of grounding and the calmer, more internal side, making this pairing a popular choice specifically for someone dealing with a genuinely stressful, high-pressure period who wants both dimensions covered at once.
Worth noting too: both stones share a genuinely dark, understated visual character, which means this pairing works well aesthetically as well as symbolically — unlike some combinations that require choosing between visual coherence and traditional meaning, this one delivers both without compromise, a small but genuinely practical bonus when building a piece meant for regular daily wear.
Rose Quartz + Green Aventurine: The Heart Chakra Pair
Both stones are traditionally associated with the heart chakra, but from slightly different angles — rose quartz specifically toward romantic love and deep self-compassion, green aventurine toward broader emotional balance, opportunity, and general heart-centered harmony. Paired together, this combination is frequently recommended for anyone specifically working on relationships broadly, covering both the romantic and the general-wellbeing sides of heart-centered work rather than picking one narrow angle.
This pairing is also a genuinely popular choice for someone specifically navigating a period of relationship change — a breakup, a new relationship forming, repairing an existing one — since it addresses both the self-compassion piece, essential during any relationship transition, and the more outward, opportunity-oriented side of forming or rebuilding connection with others.
Citrine + Tiger's Eye: The Confidence and Motivation Pair
Both stones are traditionally associated with the solar plexus chakra and share an overlapping, mutually reinforcing meaning around confidence, personal power, and motivation. Where citrine leans slightly more toward abundance and positive manifestation, tiger's eye leans more toward courage and outward assertiveness — paired together, the combination is commonly recommended specifically before a situation requiring both confident self-belief and the nerve to actually act on it, such as a negotiation, a big presentation, or a significant career decision.
This pairing also makes sense visually, since both stones share a warm, golden-brown color family, meaning the combination reads as coherent and intentional rather than randomly assembled — an example of a combination where traditional meaning and physical appearance reinforce each other rather than requiring a tradeoff between the two.
Amethyst + Clear Quartz: The Clarity and Insight Pair
This pairing draws on both stones' shared association with mental clarity, but from different traditional angles — amethyst toward intuition and calm, inward-focused insight, clear quartz toward amplification and general mental sharpness. Combined, this is a popular pairing specifically for meditation and reflective practices, where both a calm, intuitive quality and a clear, amplified quality are useful simultaneously.
This is also one of the gentlest possible combinations on the intensity scale covered further below — neither stone carries an intense or confrontational traditional character, making this pairing genuinely suitable for daily wear without much risk of feeling overwhelming, even for someone entirely new to combining crystals.
Moonstone + Labradorite: The Intuition Pair
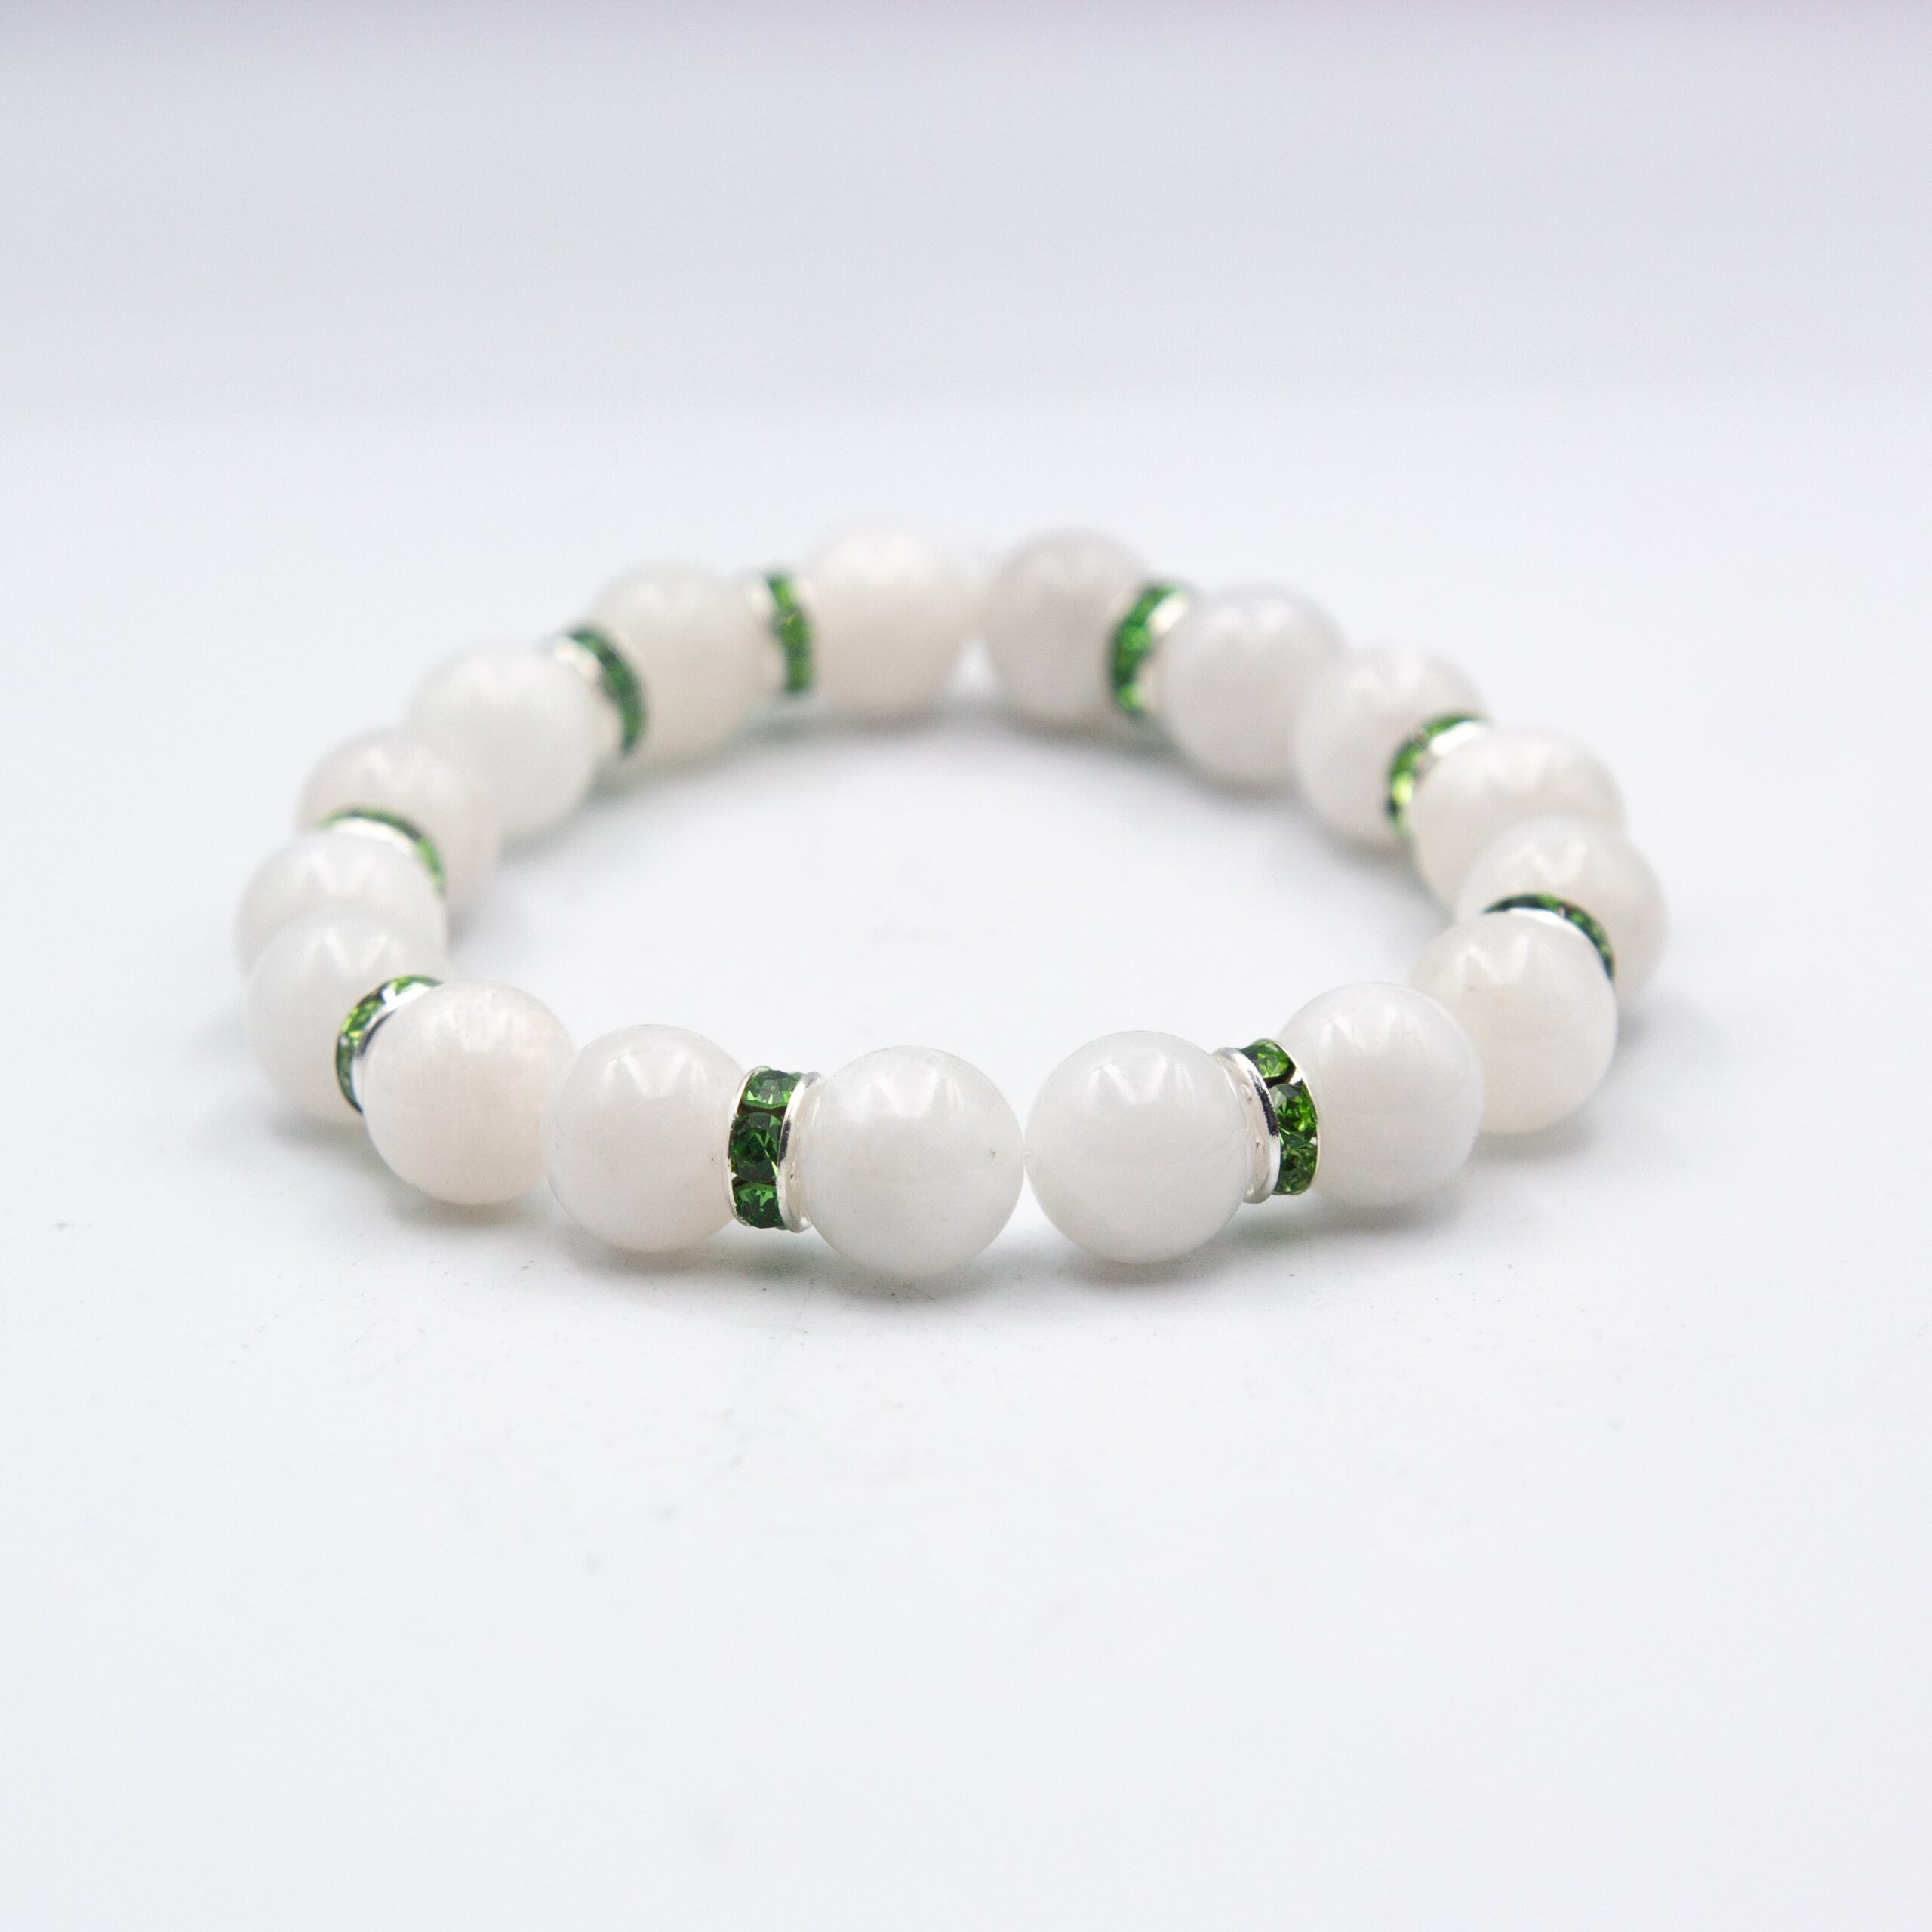
These two stones are genuinely related — both feldspar minerals, both displaying a distinctive optical light effect, though technically different phenomena (adularescence for moonstone, labradorescence for labradorite, as covered in our separate moonstone guide). Traditionally, both are strongly associated with intuition, inner perception, and navigating transitions, making this a natural, mutually reinforcing pairing for anyone specifically working on trusting their instincts during a period of change or uncertainty.
Because both stones share this mineralogical relationship, the pairing also carries a genuinely interesting educational angle beyond pure symbolism — wearing both side by side is a fairly direct, hands-on way to compare adularescence and labradorescence and actually see the difference between the two optical effects, rather than just reading about the distinction.
Black Tourmaline + Obsidian: The Complete Protection Pair
As covered in more depth in our dedicated obsidian versus black tourmaline comparison, these two stones are frequently paired specifically because they approach protection from genuinely different angles — tourmaline as a steady, comprehensive outer shield, obsidian as a sharper, more revealing tool for facing and processing what still needs attention. Rather than being redundant, the combination is generally described as covering both the external, shielding side of protection and the internal, self-honest side.
This particular pairing is a good practical illustration of the intensity-matching principle covered later in this guide — obsidian's more confrontational character is balanced here by tourmaline's gentler, steadier presence, rather than combined with an equally intense second stone, which is part of why this specific pairing is so consistently recommended rather than obsidian being paired with another highly intense stone.
Combinations Worth Approaching Carefully
It's worth being clear upfront: very few combinations are described as actively harmful in any serious traditional sense. The more accurate framing is combinations that create a genuinely mixed or diluted message, worth knowing about specifically so you can make an informed choice rather than accidentally undermining your own intention.
Stones With Directly Opposing Traditional Meanings
The clearest example of a genuine mismatch is combining a stone specifically associated with release and letting go — smoky quartz's "processing and releasing" reputation, for instance — with a stone specifically associated with tightly holding onto or manifesting a specific fixed outcome. These aren't inherently incompatible in every context, but wearing them together for the same specific intention creates a genuinely confusing signal: one stone's traditional job is to help you loosen your grip on something, while the other's is to help you hold on more tightly. If your actual goal is one or the other, pick the stone that matches, rather than combining both and hoping they average out.
Another example worth naming specifically: pairing a stone associated with active, outward assertion — tiger's eye, for instance — with a stone associated with quiet, receptive withdrawal, without a clear reason for wanting both simultaneously. This isn't automatically wrong if you genuinely want both qualities available to you in different moments, but it's worth being conscious of the fact that you're deliberately holding two different, situationally-dependent intentions in one piece, rather than assuming the combination defaults to some kind of neutral middle ground.
Two Highly Intense, Confrontational Stones at Once
Obsidian's traditional character, covered in detail in our separate guide, is genuinely more intense and confrontational than most crystals — it's specifically associated with surfacing uncomfortable truths rather than providing comfort. Combining obsidian with another similarly intense, confrontational stone, rather than pairing it with something calmer like tourmaline, risks creating an experience some sources describe as overwhelming rather than productively challenging. This isn't a hard rule, but it's worth being deliberate about pairing an intense stone with something gentler rather than compounding intensity for its own sake.
The underlying logic here is fairly intuitive once stated plainly: a tool designed to confront and reveal works best when there's also something steady and comfortable nearby to return to afterward. Two confrontational tools with no steadying counterbalance risk feeling relentless rather than genuinely productive, which is precisely why the pairing suggestions throughout this guide consistently balance an intense stone with a gentler one rather than doubling up on intensity.
Redundant Rather Than Harmful Pairings
Some combinations aren't problematic so much as simply redundant — pairing rutilated quartz and tourmalinated quartz, for instance, both being clear quartz hosts with contrasting needle inclusions, doesn't create conflict, but it also doesn't add much beyond visual variety, since both stones already share the same underlying quartz-amplifier base. This isn't something to actively avoid, just worth knowing if your goal is genuinely complementary coverage rather than two variations on a similar theme.
A similar kind of redundancy shows up when combining two stones from the same specific chakra without a clear reason for wanting both — two throat chakra stones, say, rather than one throat stone paired with something from a different chakra. Again, not harmful, just worth being aware that you may be doubling up on one specific theme rather than achieving the broader coverage you might actually be after.
Too Many Competing Intentions at Once
The most common real-world issue isn't any specific pair of stones clashing, but simply combining too many different, unrelated intentions simultaneously — a stone for confidence, a stone for calm, a stone for love, a stone for protection, and a stone for abundance, all worn together without any organizing logic. This doesn't "cancel out" in any mystical sense, but it does dilute your ability to engage meaningfully with any single intention, since attention and deliberate practice, covered further in the framework below, matter more to how these traditions are actually meant to work than simply owning the right physical objects.
This particular issue is worth distinguishing clearly from a genuine chakra bracelet, which also combines seven different themes but does so with an explicit, coherent organizing logic behind the breadth — the whole point is comprehensive balance, not narrow focus. An unplanned combination of five or six unrelated stones lacks that organizing structure, which is the real difference between intentional breadth and accidental clutter.
Physical Clashes: The Kind That Actually Matter
Beyond meaning, there are genuine, physical reasons certain combinations work better than others, and these are worth taking more seriously than any energetic theory, since they're independently verifiable.
Hardness Mismatches Within a Single Strung Piece
When multiple stone types are strung together on the same bracelet, combining a considerably softer stone (lapis lazuli or turquoise, both around 5 to 5.5 on the Mohs scale) with a considerably harder one (quartz-family stones at 7, or tourmaline at 7 to 7.5) means the softer stone bears the brunt of ordinary wear and scratching over time, since harder material will gradually abrade softer material through everyday contact and friction. This is a genuine, physical concern rather than a symbolic one, and it's worth knowing before combining stones with drastically different hardness levels into a single piece meant for daily wear.
A useful rule of thumb: if the hardness difference between two stones in the same piece is more than roughly one and a half to two points on the Mohs scale, expect the softer stone to show wear meaningfully faster than the harder one over months of regular use. This doesn't mean such combinations should never be made — many genuinely beautiful, meaningful multi-stone pieces do combine stones across this kind of hardness range — but it's worth going in with realistic expectations about which component will need more careful handling or eventual replacement first.
Porosity and Cleaning Conflicts
Some stones, including turquoise and certain forms of howlite, are somewhat porous and can absorb liquids, oils, or cleaning agents in ways that harder, non-porous stones like quartz varieties don't. Combining a porous stone with several non-porous stones on the same piece means you need to clean the whole bracelet according to the most sensitive stone's requirements, rather than whatever would be most convenient for the majority — a genuinely practical constraint worth knowing about before buying or assembling a multi-stone piece.
This porosity difference also affects how a piece responds to everyday exposure, not just deliberate cleaning — a porous stone worn regularly during exercise or in humid conditions can absorb sweat and body oils over time in a way a non-porous quartz-family stone in the same combination simply won't, potentially leading to uneven changes in appearance between the different stones on a single piece.
Color Bleeding From Treated Stones
If a combination includes a dyed or treated stone alongside untreated ones — dyed howlite alongside genuine turquoise, for instance — there's a real, physical risk of color transfer during cleaning or even from prolonged contact with moisture or sweat, particularly with lower-quality dye jobs. This is a genuinely practical reason to know exactly what you're combining, beyond any concern about traditional meaning.
This risk is worth taking seriously specifically because it's asymmetric — a dyed stone bleeding onto a lighter-colored, untreated neighbor can permanently discolor the untreated stone, an outcome that's often impossible to reverse. Knowing which stones in a combination, if any, are treated is worth confirming with the seller before buying specifically for this reason, independent of any authenticity concern about the treated stone itself.
Building Your Own Combination: A Framework
Rather than following a fixed list, here's a genuinely practical sequence for building a combination that actually makes sense for your specific situation.
Step One: Name the Actual Intention First
Before picking any stones, get specific about what you're actually trying to support — not a vague "good vibes" but something concrete: confidence before a specific type of situation, support through a specific kind of transition, calm during a specific kind of stress. The more specific the intention, the easier it becomes to evaluate whether a given combination genuinely serves it or just sounds appealing in the abstract.
This step is worth taking seriously rather than rushing through, since it's genuinely the foundation everything else in this framework builds on. A vague intention like "positivity" can justify almost any stone combination, which defeats the purpose of choosing deliberately in the first place. A specific intention like "staying steady during a stressful three-month work project" immediately narrows the field to stones whose traditional meanings genuinely match that specific situation.
Step Two: Choose Two or Three Stones That Reinforce, Not Six That Scatter
Once the intention is clear, choose stones whose traditional meanings genuinely point toward that same specific goal, rather than defaulting to "more stones, more coverage." As covered above, two or three well-chosen, reinforcing stones tend to create a more coherent, usable combination than five or six stones each pulling toward a different unrelated theme.
A practical way to apply this: for each stone you're considering adding, ask specifically how it serves the intention you named in step one. If the honest answer is "it doesn't directly, but it's a nice stone" or "it covers a completely different area I hadn't been focusing on," that's a signal the stone might belong in a separate, differently-focused piece rather than diluting this specific combination.
Step Three: Check the Physical Compatibility
Once you've settled on the stones themselves, run through the practical checks covered above — are the hardness levels reasonably compatible for daily wear together, does the combination include any porous or treated stones that need special handling, and does the overall piece make sense as something you'll actually want to wear regularly rather than something assembled purely on paper.
This step is easy to skip when you're excited about a combination that makes perfect symbolic sense, but it's worth resisting that urge specifically because the physical issues covered earlier in this guide — uneven wear, cleaning conflicts, color bleeding — tend to surface gradually over weeks or months rather than immediately, meaning a combination that looks fine on day one can develop real problems well after it's too late to easily change course.
Step Four: Decide on Format
Finally, decide whether the combination works better as beads strung on a single bracelet, as separate bracelets worn together, or as pieces worn on different wrists — a decision covered in more detail further down, since each format suits slightly different situations and levels of commitment to the combination.
This decision is also a natural point to revisit step three's findings: if the physical compatibility check turned up a real hardness or porosity mismatch between your chosen stones, that's often a signal to lean toward separate bracelets or different wrists rather than forcing an incompatible combination onto a single strung piece.
Pairing by Chakra
One of the most reliable, systematic ways to build a coherent combination is pairing stones that correspond to the same or adjacent chakras, since — as covered in our full chakra bracelet guide — each chakra position carries an independently well-established traditional meaning that multiple different stones can fulfill.
This approach has a genuine advantage over combining stones purely by vibe or general appeal: the chakra system provides a ready-made, well-documented structure for checking compatibility, rather than needing to work out each pairing's logic from scratch. If two stones share a chakra position, or sit at adjacent positions in the traditional sequence, there's already a strong case for why they'd reinforce rather than compete with each other.

Combining two stones associated with the same chakra — amethyst and labradorite for the third eye, for instance, or rose quartz and green aventurine for the heart, as covered above — creates a genuinely reinforcing, coherent combination almost automatically, since both stones are already independently pointed toward the same specific area. Combining stones from adjacent chakras, such as a solar plexus stone with a heart chakra stone, also tends to work well, reflecting the traditional idea of energy flowing naturally between neighboring centers in the sequence.
Combining stones from chakras at opposite ends of the sequence — root and crown, for instance — is less about reinforcement and more about deliberately bridging the grounded, physical end of the spectrum with the more expansive, spiritual end, which is a genuinely different but equally valid combination logic, more akin to the chakra bracelet's comprehensive approach than the narrow, focused reinforcement most single-purpose combinations aim for.
Pairing by Energetic Intensity
Beyond chakra and specific meaning, it's worth thinking about a stone's general traditional "intensity" — how dramatic or confrontational versus gentle and comfortable its reputation tends to be — since matching intensity levels tends to produce more comfortable, sustainable combinations than mismatching them.
Gentle, Everyday Stones
Rose quartz, green aventurine, clear quartz, and black tourmaline are all generally described as comfortable, universally suitable for daily wear without much risk of feeling overwhelming, making them a safe foundation for most combinations. Combinations built entirely from this tier are the safest, most broadly comfortable starting point for anyone newer to combining stones deliberately.
Moderate, Purpose-Driven Stones
Citrine, tiger's eye, amethyst, and moonstone sit in a middle tier — genuinely purposeful and specific in their traditional meanings, but not typically described as intense or confrontational the way obsidian is. Combining two stones from this tier, or one from this tier with one from the gentle tier, tends to produce a combination with real, specific purpose without tipping into anything overwhelming.
Intense, Confrontational Stones
Obsidian sits fairly distinctly in its own category here, given its traditional reputation for surfacing uncomfortable truths rather than providing comfort, as covered in detail in our dedicated comparison guide. Pairing an intense stone like this with a gentle, comfortable stone rather than another intense one tends to produce a more balanced, sustainable combination for daily wear.
A Practical Way to Apply These Tiers
As a general guideline, aim for at most one stone from the intense tier in any given combination, balanced by one or two stones from the gentle tier. Combining two or more intense stones together is where the "overwhelming" feeling described earlier in this guide is most likely to actually show up, so if you're drawn to more than one intense stone, consider wearing them at different times or on different pieces rather than combining them into a single, constantly-worn bracelet.
It's worth adding that these tiers aren't a rigid scientific classification — they're a genuinely useful shorthand drawn from how consistently each stone's traditional meaning is described across sources, not a precise measurement of anything. Treat the categorization as a starting point for thinking about a combination's overall character, not as a strict rule that overrides your own sense of what feels right for a particular piece or a particular period in your life.
How Many Stones Is Too Many?
There's no strict numerical rule here, but a genuinely useful guideline: two to three stones, chosen deliberately around a specific intention, tend to produce a combination you can actually engage with meaningfully. A dedicated seven-stone chakra bracelet is a legitimate exception, since its whole design logic is intentionally comprehensive rather than focused — but outside of that specific, purpose-built format, combinations built from many unrelated stones tend to become harder to engage with intentionally simply because there's too much to hold in mind at once. If you find yourself wanting to include five or six different stones for five or six different unrelated reasons, it's worth asking whether a single, more focused combination — or several separate pieces used at different times for different purposes — might actually serve you better than one crowded, do-everything bracelet.
It's also worth considering that a large, crowded combination faces the practical hardness and porosity issues covered earlier at a compounded scale — the more different stone types included, the more likely the piece includes at least one meaningful hardness or porosity mismatch somewhere in the mix, simply due to the larger number of components involved. This is a second, independent reason beyond the "diluted intention" concern to favor a smaller, more deliberately chosen set of stones over a large, all-inclusive one.
Wearing Combinations: One Bracelet, Several, or Different Wrists
There are genuinely three distinct approaches to physically wearing a combination, and each suits slightly different situations.
Stones Strung Together on One Bracelet
This is the most visually unified approach and works well when the combination is small — two or three stones — and physically compatible in hardness and care requirements, as covered above. It's the most convenient option for genuinely daily, passive wear, since there's only one piece to remember and manage.
Separate Bracelets Worn Together
Wearing multiple single-stone bracelets stacked on the same wrist, or spread across both, avoids any physical compatibility concerns entirely, since each stone is on its own separate piece with its own appropriate care. This approach also makes it easy to add or remove specific stones from the combination as your intention shifts, without needing to restring anything.
Different Stones on Different Wrists
As covered in our tiger's eye and black tourmaline guides, the traditional left-receiving, right-giving wrist convention gives this approach a genuine symbolic logic — a protective, grounding stone on one wrist and a more outward, active stone on the other, deliberately separated to reflect their different traditional directions rather than blended together on one side.
Choosing Between the Three Approaches
As a practical summary: choose one strung bracelet for simplicity and daily convenience with a small, compatible combination; choose separate stacked bracelets for maximum flexibility and the easiest path to swapping stones in and out over time; and choose the different-wrists approach specifically when the traditional left-right symbolism genuinely matters to how you're using the combination, rather than defaulting to it out of habit.
None of these three approaches is inherently more effective or more "correct" than the others in any traditional sense — they're simply different practical ways of physically organizing the same underlying combination, and the right choice comes down to your own daily habits, how often you expect to adjust the combination, and whether the specific symbolism of wrist placement matters enough to you to justify separating the stones physically rather than keeping them together on one piece.
Authenticity in Multi-Stone Pieces
Multi-stone combinations carry a slightly elevated authenticity risk compared to single-stone bracelets, simply because there are more individual stones for a seller to potentially substitute with cheaper imitation material, and a buyer's attention is naturally more divided across several different stones at once rather than focused on verifying just one.
This risk compounds specifically with combinations that include less commonly available or more expensive stones alongside more affordable ones — a seller looking to cut costs has an obvious incentive to substitute the pricier component with an imitation while keeping the cheaper stones genuine, since a quick glance at the overall piece is less likely to catch a single substituted component within an otherwise correct-looking combination.
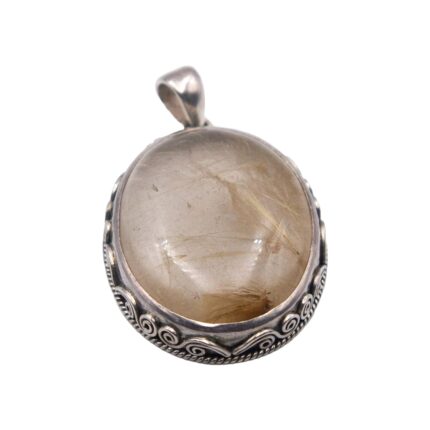
The same basic checks covered throughout our other guides apply here, just applied more thoroughly across every stone in the piece rather than just one: natural variation rather than mechanical uniformity, correct weight and temperature for each material, and asking the seller to confirm exactly which stones are used at each position rather than assuming from color alone. This is particularly worth doing for any combination sold at a price that seems low relative to the number and type of stones claimed to be included.
Real Combination-Friendly Pieces at Alpine
Several of the pairings covered in this guide can be built directly from pieces in our own range: our black tourmaline bracelet pairs naturally with our smoky quartz or obsidian pieces for the grounding and protection combinations covered above, our tiger's eye bracelet pairs well with citrine for the confidence-focused combination, and our moonstone bracelet pairs naturally with our labradorite bracelet for the intuition-focused pairing. Message us on WhatsApp if you'd like help putting together a specific combination based on what you're actually trying to support — we're happy to walk through the reasoning with you rather than just pointing you toward whatever's popular.
If you're building toward a larger, more comprehensive combination over time rather than all at once, starting with one gentle, everyday stone and adding a second, more purpose-driven piece once you've genuinely engaged with the first is a reasonable, low-pressure way to build a personal collection that actually reflects considered choices rather than an impulse purchase of everything at once.
Caring for Multi-Stone Bracelets
As covered in the physical clashes section above, care a multi-stone piece for its most sensitive component rather than its most durable one. Check the hardness and porosity of every stone included, and default to the gentlest cleaning method appropriate for the softest or most porous stone present — a soft, dry cloth and avoidance of harsh chemicals, prolonged water exposure, and ultrasonic cleaners is a safe general approach across nearly every combination. Store multi-stone pieces separately from harder single stones or metal jewellery to avoid incidental scratching during storage, not just during wear.
It's also worth periodically inspecting a multi-stone piece specifically for early signs of uneven wear between its components — a softer stone showing more visible surface scratching than its harder neighbors is a normal, expected outcome given the hardness differences covered earlier, rather than a sign of poor quality, but it's worth knowing to expect this rather than being surprised by it months into wearing a genuinely well-made combination piece.
Want help building a specific combination?
Tell us what you're actually trying to support and we'll help you put together stones that genuinely make sense together.
Questions People Ask
Can you wear multiple crystal bracelets together?
Yes, most crystal bracelet combinations are perfectly fine to wear together. The more useful question is whether the traditional meanings genuinely reinforce each other or point in conflicting directions, rather than whether they're mystically compatible.
Do crystals actually clash with each other?
Not in any serious traditional sense. The more accurate concern is combining stones with directly opposing meanings, which creates a mixed message rather than harm, plus genuine physical factors like hardness mismatches and porosity differences within a single strung piece.
What crystal combinations work well together?
Clear quartz pairs well with almost anything as an amplifier. Black tourmaline and smoky quartz reinforce grounding, rose quartz and green aventurine reinforce heart-chakra themes, and citrine with tiger's eye reinforces confidence and motivation.
What crystals shouldn't be combined?
Stones with directly opposing traditional meanings, such as a release-focused stone alongside a holding-on or manifestation-focused stone, create a genuinely mixed message. Pairing two highly intense, confrontational stones can also feel overwhelming rather than balanced.
Is it better to string multiple stones on one bracelet or wear separate bracelets?
Both work. Stringing on one piece suits small, physically compatible combinations for daily wear, while separate bracelets avoid hardness and care mismatches entirely and make it easier to adjust the combination over time.
How many crystals should be in one combination?
Two to three stones chosen around a specific, focused intention tend to work best. A dedicated seven-stone chakra bracelet is a reasonable exception, since its design is intentionally comprehensive rather than focused.
Can you combine stones of different hardness on one bracelet?
You can, but a considerably softer stone strung alongside much harder ones will wear and scratch faster over time due to ordinary friction. This is a genuine physical consideration worth knowing before combining stones with very different hardness levels.
Should beginners start with single stones or combinations?
Either is reasonable, but starting with a single stone or a small, gentle combination makes it easier to genuinely engage with and understand what each piece represents before layering in more stones and intentions at once.
Do I need to cleanse crystals before combining them?
This comes down to personal practice rather than a fixed rule. Some people cleanse new stones before wearing them in any combination, while others don't follow this step at all; neither approach is required for a combination to make traditional sense.