

How to Use a Himalayan Singing Bowl (Beginner's Guide)
The actual technique, not just "circle the rim" — including why most first attempts don't sound like they're supposed to.
Most people's first attempt with a singing bowl doesn't go the way the videos make it look. The bowl rings when tapped, sure, but that continuous, layered hum everyone talks about often doesn't show up, and the usual instruction — "circle the rim with the mallet" — leaves out most of what actually makes that work. Here's the more complete version, including the part where it goes wrong before it goes right, which it usually does for a few minutes the first time.
What You're Actually Working With
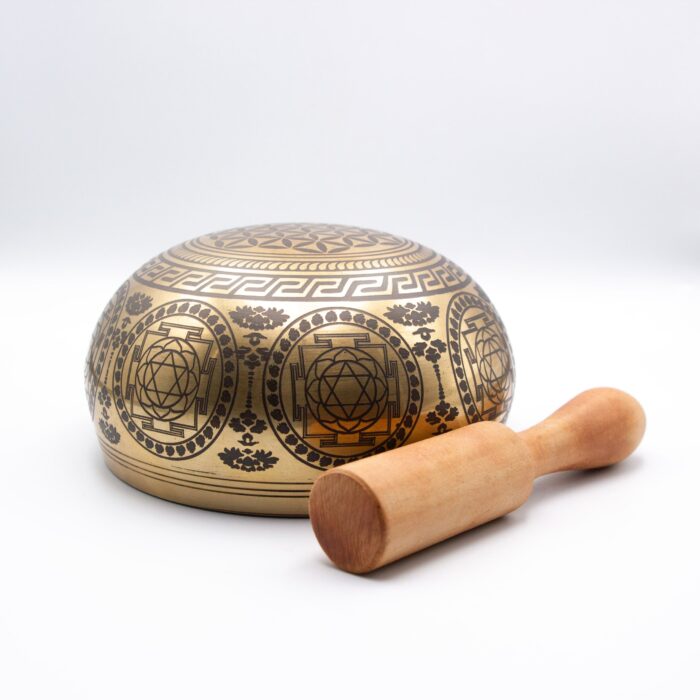
A basic set, like our Bodhisattva bowl or Endless Knot bowl, comes with the bowl itself, a wooden striker (sometimes called a puja stick or mallet), and usually a small cushion for the bowl to rest on. All three matter. The cushion isn't just for looks — it lets the bowl vibrate freely rather than having its sound dampened against a hard table surface, and the striker's shape and material genuinely affects how easily you'll get a clean tone, more so than most beginners expect.
How to Hold the Bowl
Rest the bowl on the cushion on a flat surface in front of you, or on the flat of your open, non-dominant palm if you'd rather hold it directly — either works, though resting it on a cushion is easier while you're still learning the technique, since you don't also have to manage keeping your hand steady. If you're holding it in your palm, keep your hand relaxed and flat rather than gripping the base, since a tense grip can dampen the vibration you're trying to produce.
Technique One: Striking
This is the simpler of the two methods, and the right place to start. Hold the striker like a pencil, not a hammer, and tap the outer rim of the bowl gently, using the padded or leather-wrapped end if your striker has one. The goal is a single, clean tone that rings out and sustains on its own for several seconds — if it sounds like a dull thud rather than a ring, you're likely hitting too hard or catching the bowl at an angle rather than a clean, direct tap.
A gentle strike, letting the striker bounce off the rim rather than pressing into it, almost always produces a better tone than a harder hit. This is the most common first mistake, and it's an easy one to fix once you notice it.
Technique Two: Circling the Rim
This is the technique that produces the sustained "singing" tone rather than a single struck note, and it's genuinely a bit of a knack rather than something that works on the first try for most people.
- Start with a gentle strike first, to wake the bowl and get it vibrating.
- Before the tone fades, press the striker against the outer rim at a slight angle and begin moving it in a steady, continuous circle around the bowl's edge.
- Keep consistent pressure — not hard, but steady — and a consistent, moderate speed. Too slow and the friction won't sustain the vibration; too fast and you'll get an uneven, wobbling tone rather than a smooth hum.
- Keep going for several full rotations before expecting the full, layered tone to build. It genuinely takes a few seconds of consistent circling before the "singing" effect fully develops, so don't stop after just one or two passes assuming it isn't working.
- Once it's ringing steadily, you can gradually slow down or ease off pressure to let it fade naturally, rather than stopping abruptly.
Why It Might Not Be "Singing" Yet
If you're getting a strike tone fine but the circling technique isn't producing the sustained hum, it's almost always one of a few things. Too much pressure is the most common culprit — pressing hard feels like it should produce more sound, but it actually dampens the vibration rather than sustaining it. Moving too fast is the second most common issue, since the friction needs a moment to actually build the resonance rather than skating past it. And holding the striker at the wrong angle — flat against the rim rather than at a slight tilt — can also prevent the friction from catching properly.
It's worth knowing this is a skill that improves with a few sessions of practice rather than something everyone gets instantly. Nearly everyone struggles with it briefly the first time; it's not a sign anything's wrong with the bowl itself.
A Simple First Session
Once you've got the basic technique down, here's a simple way to actually use it rather than just practicing the motion.
- Sit somewhere quiet, with the bowl on its cushion in front of you or resting in your palm.
- Close your eyes and take a couple of slow breaths to settle in.
- Strike the bowl gently and let the first tone ring out fully before doing anything else.
- Circle the rim for ten to twenty seconds, building the tone, then let it fade naturally rather than stopping it abruptly.
- Sit in the silence afterward for a minute or two before opening your eyes, rather than moving straight back into your day.
That's genuinely the whole practice to start with. There's no need to add anything more elaborate until this basic version feels comfortable and familiar.
Common Beginner Mistakes
Pressing too hard is the single most common issue, covered above, but a few others come up regularly too. Rushing straight into circling without warming the bowl first with a gentle strike tends to produce a weaker, less full tone. Expecting the sustained hum immediately, within the first rotation or two, leads people to assume they're doing something wrong when really they just need a few more seconds of consistent circling. And gripping the bowl itself too tightly, whether resting in your palm or held by the base, dampens vibration in exactly the same way pressing too hard with the striker does.
How Long and How Often
There's no required duration — even a couple of minutes produces a noticeable effect for most people. A short daily session, five to ten minutes, tends to build the technique faster than occasional longer sessions, simply because you're getting more regular practice with the actual motion. Morning or evening both work well; the choice really comes down to whether you want it as a way to start the day or wind down from one.
Once the Basics Feel Natural
Once striking and circling both feel comfortable, there's more to explore beyond the basic technique covered here. Different bowl sizes and weights produce noticeably different tones, which we've gone into in more depth in our guide to choosing the right singing bowl. Many people also start incorporating chakra-focused sequences, moving attention through the body while playing, or pairing the bowl with crystals placed nearby — both covered in our piece on the broader benefits of Himalayan singing bowls. And if you're curious why some bowls produce a noticeably richer tone than others, that mostly comes down to hand-hammering versus machine production, which we've compared directly in a separate piece on that exact difference.
Questions People Ask
Why won't my singing bowl make a continuous sound?
This is almost always due to pressing too hard with the striker or moving it too quickly around the rim. Try a lighter, steadier pressure at a moderate, consistent speed, and give it several full rotations before expecting the tone to build.
Should I strike or circle the bowl?
Both. Start with a gentle strike to wake the bowl, then move into circling the rim before that initial tone fades, to build the sustained "singing" hum.
How long does it take to learn proper singing bowl technique?
Most people get a basic feel for it within a few short practice sessions. It's a genuine skill that improves with repetition rather than something everyone gets right immediately.
Do I need to hold the bowl in my hand, or can it rest on a table?
Either works. Resting it on its cushion is often easier for beginners, since it removes the need to also keep your hand steady while learning the striker technique.